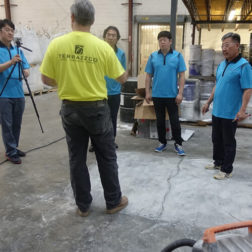
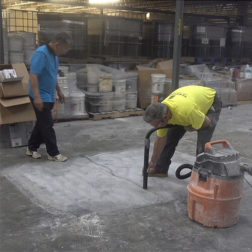
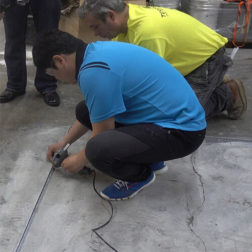
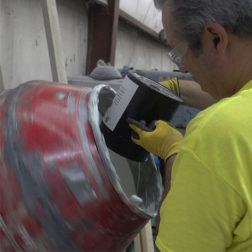
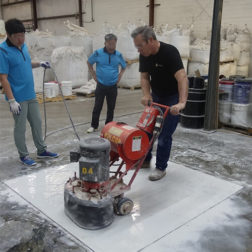
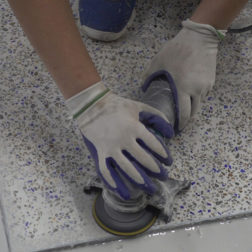
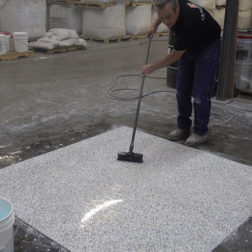
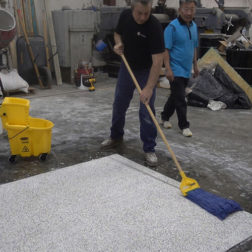
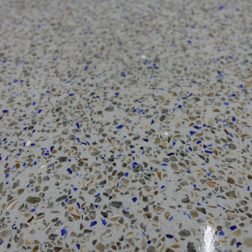
In this video, Concord Terrazzo Company instructs a team from South Korea on how to install a terrazzo floor for the first time using TERRAZZCO Brand Products. By following the steps of a terrazzo installation, they were able to create a beautiful white terrazzo floor. To learn more about how to install an epoxy terrazzo floor, please reference the guide below or watch the video.
Installing an Epoxy Terrazzo Floor
Epoxy terrazzo is ideal for commercial, industrial and institutional facilities for its durability, flexible design, longevity, and low maintenance costs. Today you can find epoxy terrazzo in locations such as airports, schools, hospitals, restaurants and other places with high traffic.
Installing epoxy terrazzo is a specialized skill set; therefore, it is recommended to hire a qualified and experienced contractor to work on a terrazzo floor. The National Terrazzo and Mosaic Association provides a list of contractors in the United States capable of installing an epoxy terrazzo that meets high-quality standards.
This guide is intended to highlight the terrazzo process to better educate architects and general contractors on how the steps to achieve a successful terrazzo floor, and to give background to those wishing to pursue a career in terrazzo.
Moisture Testing: Moisture vapor transmission tests should be performed on all slabs receiving epoxy terrazzo. The threshold is commonly between 75% to 80% relative humidity. Once reading complies to standard, installers can begin work on preparing the concrete for epoxy terrazzo. Otherwise, a moisture mitigation system may be required.
Concrete Preparation: Installers will either shot blast or grind the floor to open the concrete for proper adhesion. Moisture mitigation systems are applied if needed. This step involves installers checking for cracks and floor leveling, and determining whether to apply a flexible membrane or leveling fill epoxy.
Floor Layout: A terrazzo floor layout is then created. Installers place specified divider strips over the concrete surface, including saw cuts and expansion areas, securing each divider strip in place. The main function of divider strips is to provide an indication of color changes or to control expansion joints. Complex designs are applicable.
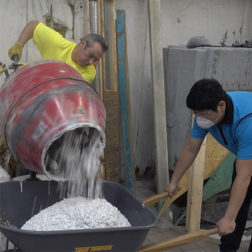
Mixing Components: An epoxy terrazzo floor has a 5:1 ratio of a part A epoxy resin mixed with a part B hardener. Mixed thoroughly for minutes, 50 pounds of filler powder and a minimum of 180 pounds of selected aggregates are mixed in together.
Pour in Place: When all the components of a terrazzo floor are mixed well, the batch is emptied to a wheelbarrow and transported to be poured in place. Installers will continuously mix components until the section is filled or a new color is needed.
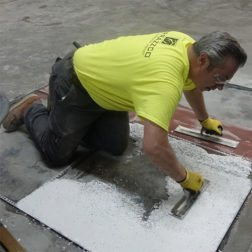
Troweling: When the terrazzo is poured in place, installers will use a hand trowel to spread the batch evenly between the divider strips at 3/8″ thickness followed with a power trowel to help close up the floor and tighten up the aggregate. This process concludes when the area is enclosed by the divider strip.
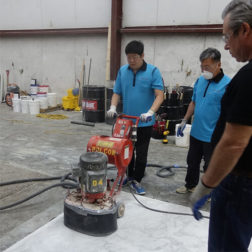
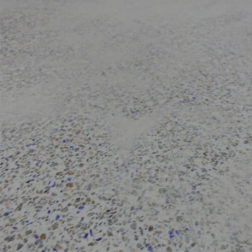
Grinding: Grinding a terrazzo floor involves transitioning from a rough to a smooth surface. Depending on the hardness of the aggregate, a 40 or 80 grit diamond is used to grind the floor. Installers slowly push and pull the electric grinder in a side-to-side motion until the floor exposes the divider strip and aggregate.
Grouting: Once grinding is complete, installers will clean the floor with fresh water and a scrubber and allow the floor to completely dry. The grouting process fills any pinholes or voids left from grinding. Small amounts of matching epoxy color are tightly worked into the pinholes and lightly dusted with marble dust before installers begin polishing the terrazzo floor.
Polishing: Polishing a terrazzo floor is similar to the rough grinding stage; however, is performed wet and not dry. Using 80 grit carborundum stones or 100 grit resin pads, installers will remove the epoxy grout. Slurry is formed and later vacuumed. This stage is repeated with a higher grit to achieve the desired shine of the floor.
Edges: In areas where an machine won’t reach, installers can polish off the corners and edges removing any epoxy grout. Once this is completed, the terrazzo floor is cleaned and ready to be sealed.
Cleaning: Before sealer is applied, terrazzo must be cleaned. Installers should remove all slurry from the surface and clean the floor with fresh water and neutral cleaner using an electric scrubber. Floor is rinsed, water vacuumed, and left to dry completely.
Sealing: Sealing a terrazzo floor adds protection during the material’s lifecycle. When a floor completely dries, installers will apply two coats of sealer to cover all areas of the terrazzo floor. Installers apply the first coat and leaves it to dry before applying the second coat. After sealing is complete, the terrazzo floors can soon be walked on.
Floor Finish: TERRAZZCO Brand Products are tested to have zero chemical emissions, guaranteeing a healthy indoor environment while also supporting a durable, beautiful, and low-maintenance floor finish. We are a single-source supplier providing epoxy resins, aggregates, and precast terrazzo products for all projects.
Questions?: Have questions, need material pricing, or looking to learn how to use TERRAZZCO Brand Products for your next project? Our National Sales Managers are here to help. Write to us with your questions. We look forward to speaking with you.


